Home > Stage 3: To regain access to applications and services
Stage 3: To regain access to applications and services
Stage 3 includes guidance on getting back into core applications such as Smarthub and the Library. We also have guidance on re-registering for payslip access and updating your email address across third-party services.
You only need to update your email address on third-party applications that you had to manually register with your University account. You don't need to update your email address on any applications integrated directly with your University account, such as Microsoft applications, CELCAT timetabler, Smarthub, e:Vision and Moodle (VLE).
If you need additional guidance, expand the boxes below which are relevant to you.
Users of the Smarthub mobile app will need to resync following the transition of their account.
1. Sign out via Menu (top-right corner) > My Account > Log Out.
2. Select "Use another system code".
3. Click "Scan system QR code":
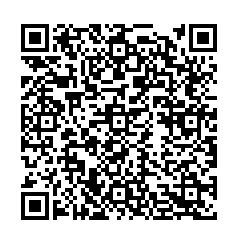
4. Scan the system QR code using your phone's camera. The QR code is below:
5. Click "Login", then "Sign in here". Log in using the M365 login screen using your new email address.
After the transition to norwichuni, some users have experienced issues with OneNote notebooks displaying in both the desktop and web apps.
In the desktop app, you may see this error when trying to sync notebooks:

In the web app, you may receive a "404 FILE NOT FOUND" error when accessing notebooks.
OneNote Desktop App:
To fix the sync issue, you need to "Close" the broken notebook and re-open it.
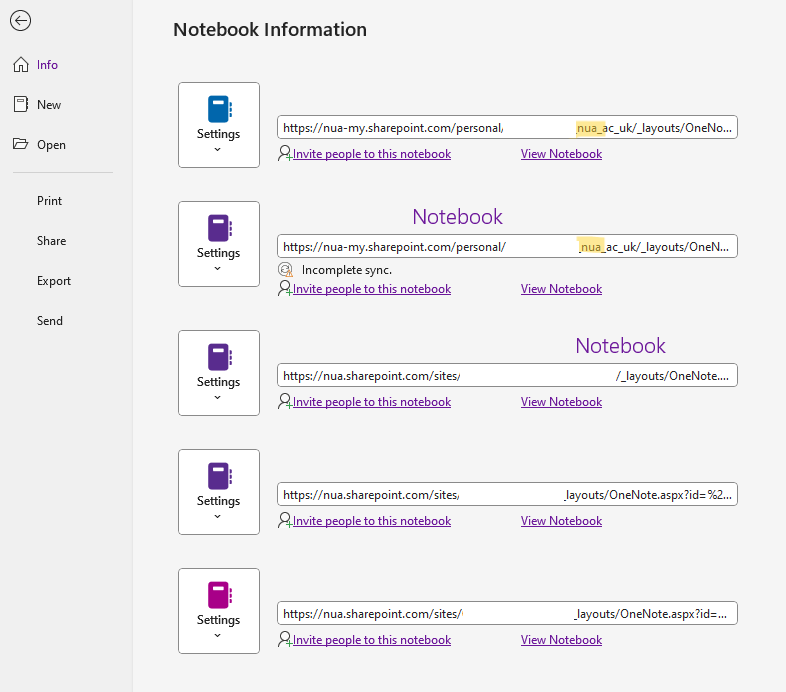
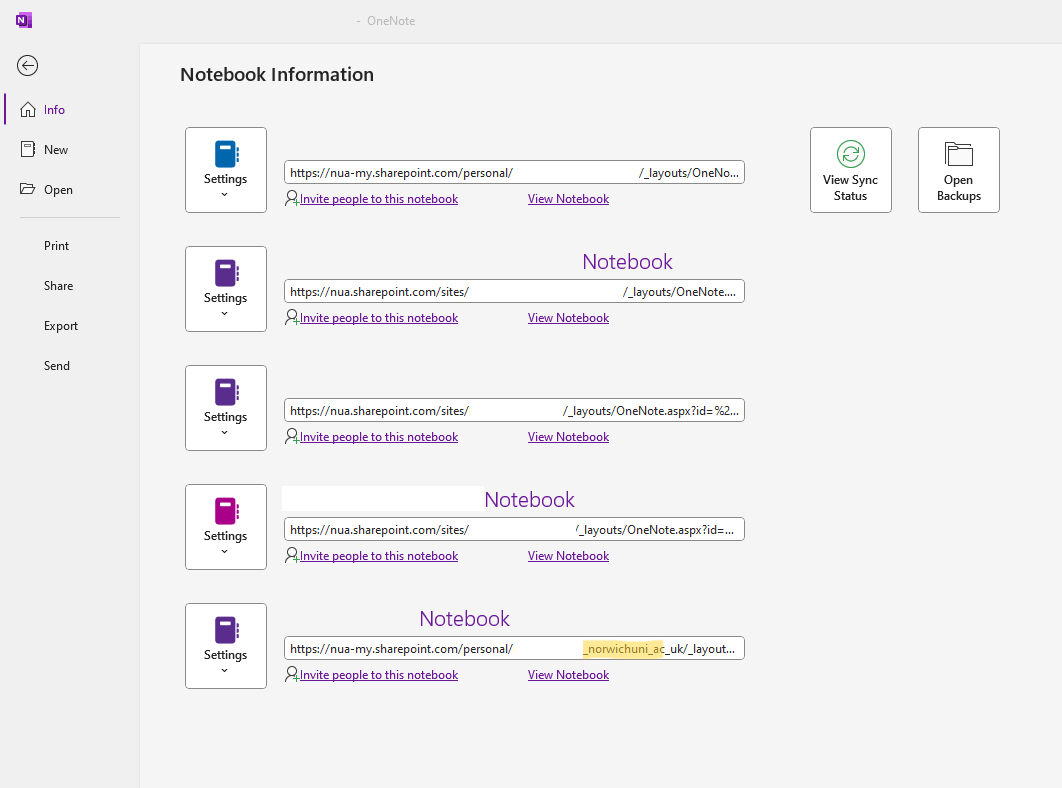
1. If you view the File tab in OneNote, you'll see that the notebooks which cannot sync refer to the old nua_ac_uk domain. All notebooks are owned by a user (the person that created the notebook or the team/site it lives within). After the transition to norwichuni_ac_uk, the nua_ac_uk URL cannot be reached.
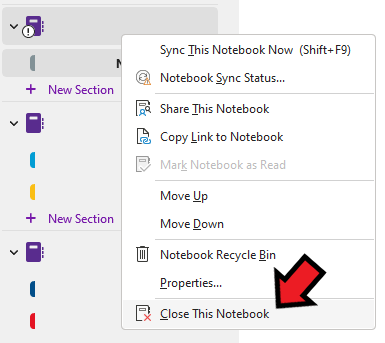
2. In the navigation panel of the OneNote desktop app, close every notebook by right-clicking on it and choosing "Close This Notebook" from the drop-down menu. Consider taking note of the URL associated with the notebook in the Files tab first - this will help you find it later.
3. If you have made changes to a non-syncing notebook since the transition, you may be prompted to move these sections to the "Misplaced Section" when closing the notebook. Agree to this so you don't lose those changes.
Further guidance on closing notebooks is available on the Microsoft support page.
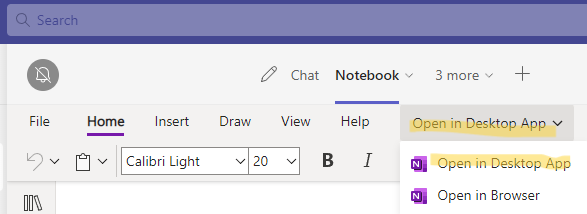
4. Now you can re-open your notebooks via File > Open. The source of the notebook depends on where it was created and by whom. If it was shared to you, the person who originally shared it will need to share it again. If it was created in a Microsoft Teams chat or team, re-open it from Teams app using the "Open in Desktop App" button. If it's one of your own, search for where you saved the notebook when first creating it. Using the OneNote Web App may assist you in finding notebooks; scroll down for more information.
Don't use your Recent list to re-open notebooks, as these will likely reference the nua_ac_uk URL.
Here is an example of opening a notebook located in Teams:
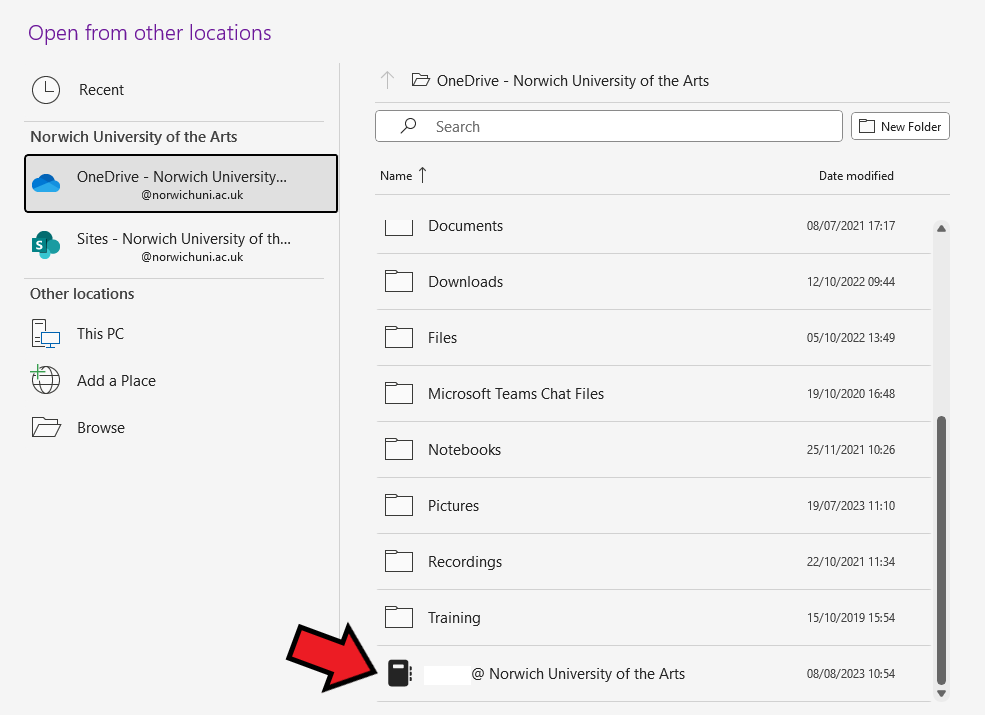
Here is an example of opening one of your own notebooks that was saved in OneDrive:
5. After opening the notebook, you should see that the URL in the Files tab now refers to norwichuni_ac_uk rather than nua_ac_uk.
OneNote Web App:
To fix the 404 error in the web app, you need to remove the broken notebook from your recent list.
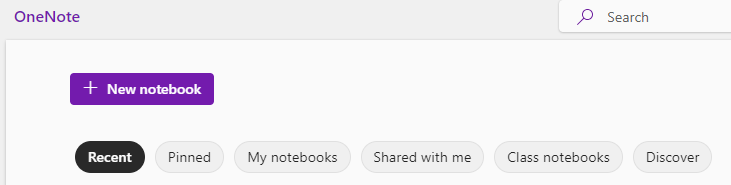
Open the OneNote app on the Microsoft 365 website.
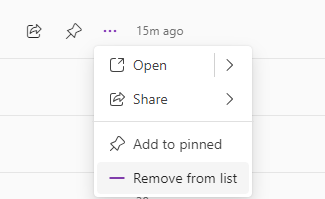
1. Click on the three dots (...) next to the notebook you wish to remove.
2. Click "Remove from list" in the drop-down.
3. Use the tabs along the top to help you find your notebooks. Notebooks you created will be listed under "My notebooks". Notebooks shared with you (including those in Teams) will be under "Shared with me".
To complete this step you must first have completed Stage 1, Step 3. If you have not completed the export of your library folder prior to transition we will not be able to recover the information.
When your domain transition is complete, you will be able to re-populate your library folder.
Step one: Navigate to the 'My Folder:' section of the webpage. (follow the previous Stage 1, Step 3 instructions to do this).
Step two: If you only used the main library folder, skip to step 3. If you had separate custom library folders, navigate to your folder. On the left hand side menu, click New.
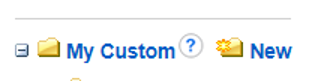
Give your folder the same name it previously had and save. If you had multiple folders, repeat this step.
Step three: Open the excel file related to the folder you wish to repopulate, that you downloaded in stage one. Click the link of the first item so it opens in your browser.

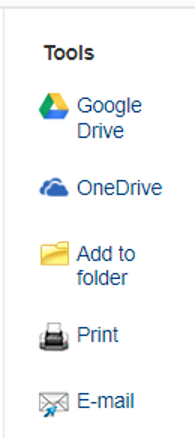
Step four: On the browser page, on the right hand side menu, click Add to Folder and select the named folder you wish the item to be added to.
Step five: Repeat this step for each item in your spreadsheet.
Step six: Repeat step two to three for each spreadsheet downloaded.
Note: If your content did not transfer by following the instructions below, please email library@norwichuni.ac.uk and they will liaise with BoB support to transfer your playlists within four working days.
1. Go to the Box of Broadcasts webpage.
2. Complete the 'Where are you from' box.
3. Re-register your account with your old email address (...@nua.ac.uk or ...@student.nua.ac.uk).
4. Verify your account with the email you will be sent. All email to your ...@nua.ac.uk or ...@student.nua.ac.uk is redirected to your new address automatically.
Once you have verified your account, all playlists and clips will be transferred over to your new account.
5. Then under 'Account Details', change your email address to your new one (...@norwichuni.ac.uk or ...@student.norwichuni.ac.uk).
Those who registered for myOracle with their nua.ac.uk email address will need to re-register after their transition. Those who registered for myOracle with a personal Microsoft account are unaffected. You will be informed directly if you are affected. Those affected will also receive a registration email on the night of their transition. Please note: those who transitioned on Thursday 3rd August will need to wait until Wednesday 9th August for their welcome email.
View the guidance on how to re-register. In the guidance, you will also find contact details for support with myOracle registration issues.
Following the transition, all emails sent to your previous "nua.ac.uk" address will be automatically forwarded to your new "norwichuni.ac.uk" address. There are no plans to turn this forwarding off. Updating your email address across third-party services (i.e. applications and websites that you registered with your email) is not urgent because any emails sent from these providers (such as password reset emails) will still arrive. However, we strongly recommend updating your contact information as time permits.
Looking through your chosen password manager may help you to remember where you have signed up to websites with your old email address and to track which ones you have updated.
Sites which authenticate with your University account will be updated automatically - this means no action is required by you to update the email address, although some services will ask you to sign out and back in again. In addition to core Microsoft services, this includes Padlet, Vevox, O'Reilly, Profile, MetaCompliance, Smarthub, Adobe Creative Cloud, FortiClient VPN, Google, the Intranet, Moodle (VLE), your Library account, the VDI, e:Vision and PaperCut.
This section will contain guidance on updating your email address across popular third-party sites, including:
- Zoom
- Miro
- Trello
- Calendly
ZOOM:
1. Sign in to the Zoom web portal with your old NUA email address: https://zoom.us/profile.
2. In the navigation menu, click Profile.
3. Under Sign In, click Edit next to Sign-In Email.
4. Enter your new norwichuni email address.
5. Enter your current Zoom password.
6. Click Save Changes. When the confirmation emails arrive, confirm the changes. There will be two confirmation emails to accept.
For more information, visit the Zoom support site.
MIRO:
1. Sign in to Miro with your old NUA email address: https://miro.com/login/.
2. In the navigation menu, go to Profile settings > Profile details.
3. Click "Change email" under Email Address.
4. Enter your new norwichuni email address.
5. Enter your current Miro password.
6. The confirmation link will be sent to your new email address. Open the email and click "Confirm your email address".
For more information, visit the Miro support site.
TRELLO:
Your Trello account is accessed using your Atlassian account email address. To change the email address you use with Trello, change the email in your Atlassian Account. This will also change your email address to log into other Atlassian products.
1. Sign in to Atlassian with your old NUA email address: https://id.atlassian.com/manage-profile/email.
2. In Manage Profile > Email, enter your new norwichuni email address.
3. Click "Save changes".
4. Enter your new norwichuni email address.
5. Check the inbox of your new email address to find the verification message.
5. Click Verify your email and follow the instructions to conclude the update.
For more information, visit the Atlassian support site.
CALENDLY:
Calendly users first need to manually update the email address associated with their account.
1. First, log in to Calendly. At the upper right side of any Calendly page, click Account, then select Account Settings.
2. Click the Login tab on the left.
3. Click "Change login", then select "Use another account".
4. Enter your new norwichuni email address and confirm the changes.
Calendly users should also note that their Calendar Connection will fail after their email address has transitioned. Remove the existing connection and re-create it using your new norwichuni email address. Further information is available on the Calendly support page.