Home > Stage 1: Preparing for the transition of your account
Stage 1: Preparing for the transition of your account
What you need to do
In a nutshell, this stage asks you to sign out of all applications, websites and services linked to your University account across all your devices. For most students, it will be smartphones and personal study computers. Depending on what services you use, this may include:
- All Microsoft 365 applications such as OneDrive, Office and Teams.
- Anywhere you've set up access to your University emails.
- The eduroam WiFi network.
We've also included guidance on backing up your Library Discovery resource lists and Ebook Central bookshelves.
If you couldn't complete this step before the transition, don't worry, but do ensure you complete this sign-out process before proceeding to Stage 2 - After the transition of your account.
If you're familiar with your devices and applications, go ahead and sign out of everything and move on to Stage 2. If you need them, we've included some details instructions below - just expand any boxes relevant to you.
More detailed instructions, if you need them
1. Sign Out
You only need to sign out of applications, websites and services where you're using your nua email address. If you're using a personal email address, you don't need to sign out.
This section contains guidance for Windows users on how to sign out of the following services:
- Microsoft Account
- OneDrive
- Microsoft Office
- Sticky Notes
- To Do
- Edge
- Teams
- Creative Cloud
MICROSOFT ACCOUNT:
1. Go to https://myaccount.microsoft.com.
2. If prompted, sign in with your existing @nua.ac.uk / @student.nua.ac.uk email address.
3. Click "Sign out everywhere" in the Overview section, as shown in the screenshot below.
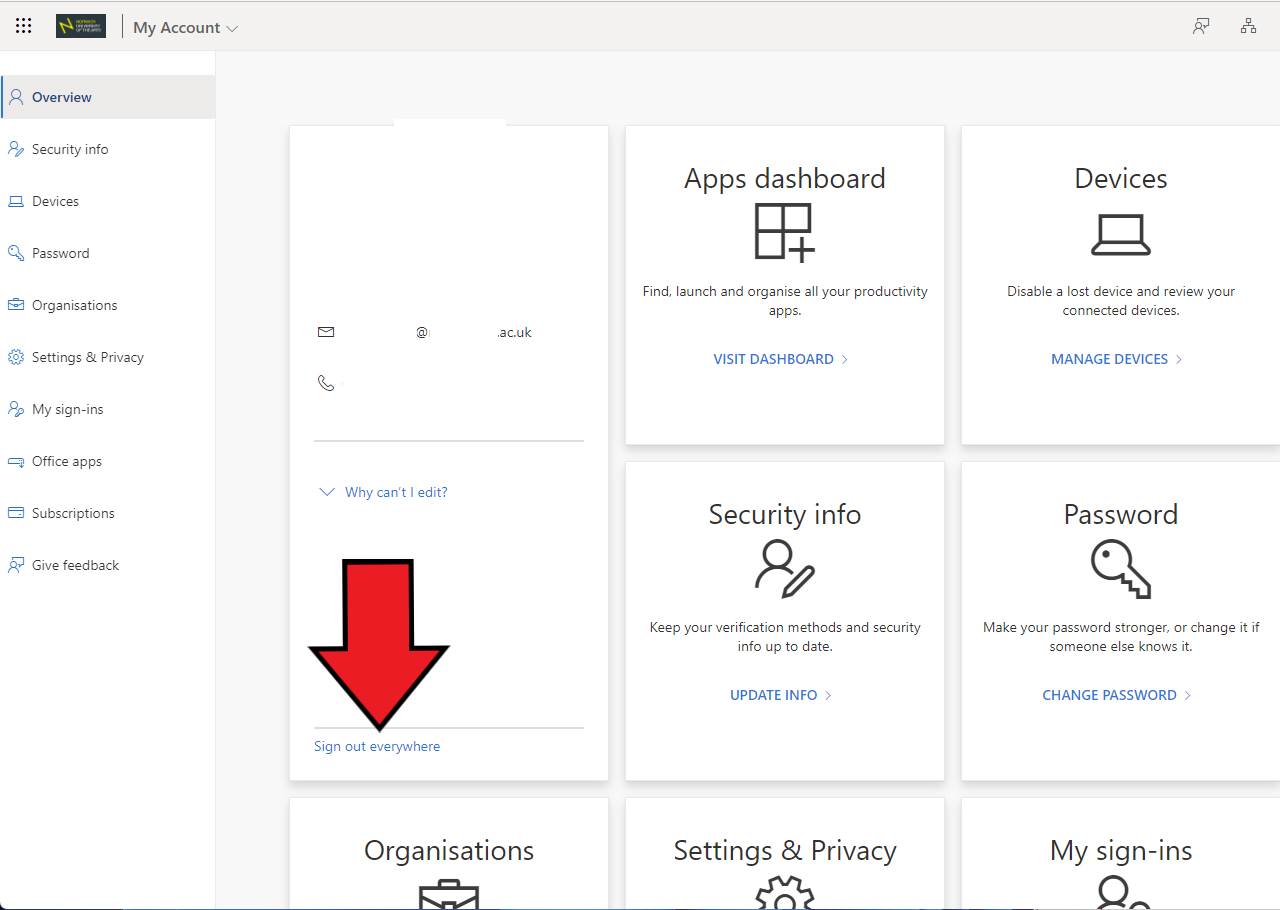
4. Continue with the sign-out instructions in the rest of this section, as the "Sign out everywhere" option may omit some services.
ONEDRIVE:
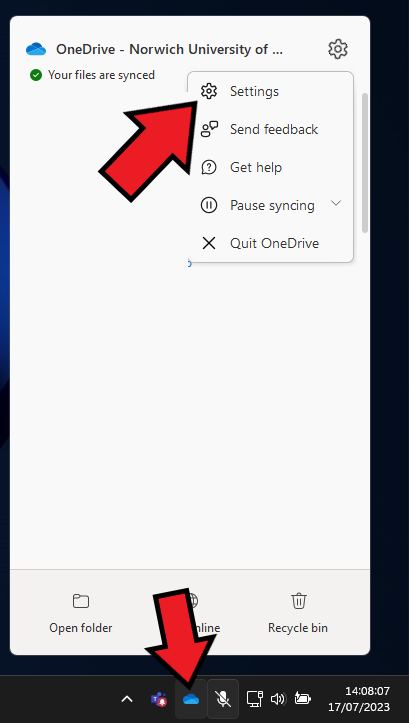
1. Right-click on the OneDrive icon in the notification area on your taskbar. Then, navigate to Settings.
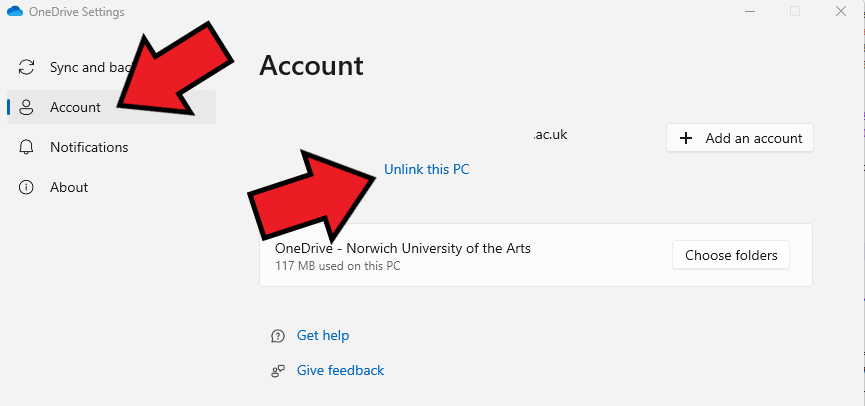
2. Go to the Account tab and click on "Unlink this PC".
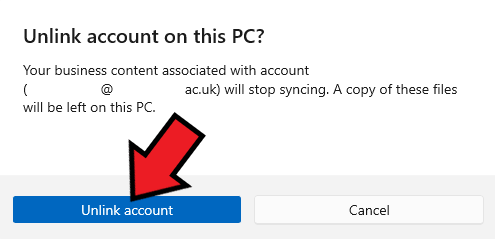
3. In the pop-up, click on "Unlink account" to confirm.
OFFICE:
1. Launch either Excel or Word (you only need to sign out of one Office app to trigger the sign-out for all). Then, go to the Account tab in the file menu and click "Sign Out".
Note: If you have them installed, you should also sign out of Microsoft Access, Project and Visio; those must be signed out of individually.
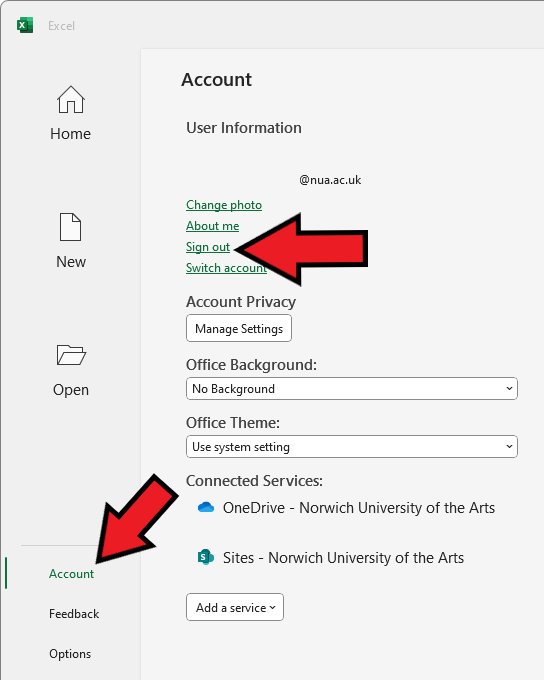
2. Click "Yes" to confirm.

STICKY NOTES:
1. Right-click on the Sticky Notes icon in the taskbar and choose Settings.
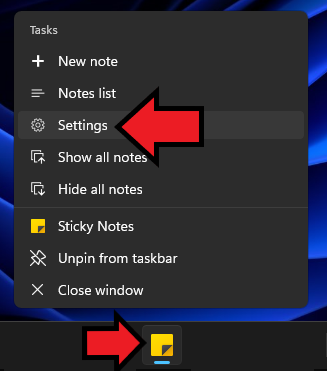
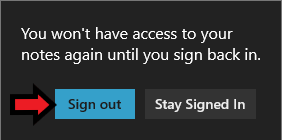
2. Click the "Sign Out" link.
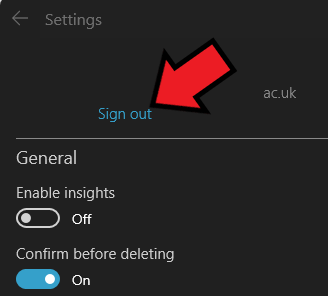
3. Click "Sign out" to confirm.
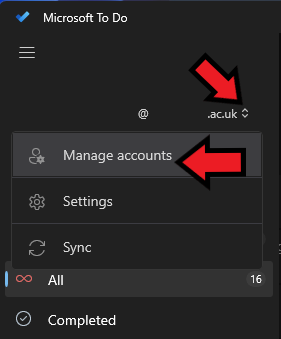
TO DO:
1. In To Do, go to Menu and click on your name. From the drop-down, select "Manage accounts".
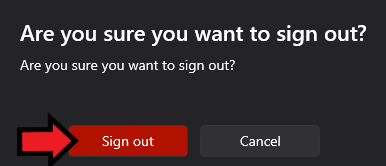
2. Click the "Sign out" button.

3. Click "Sign out" to confirm.
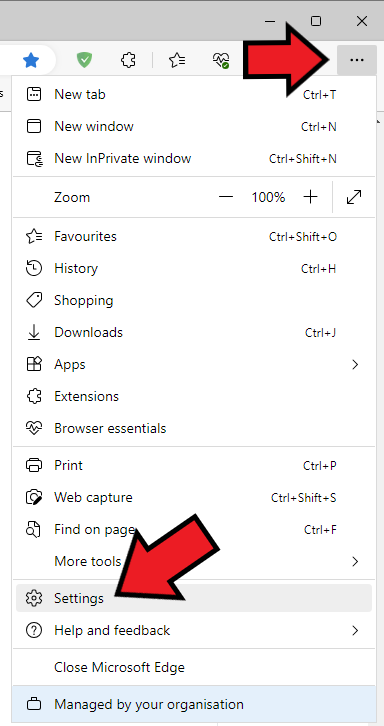
EDGE:
1. Click the three dots in the right-hand corner of the browser and choose Settings from the drop-down.
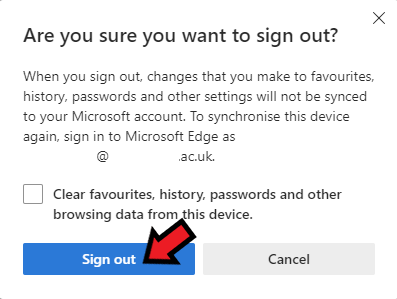
2. Under the Profiles tab, click the Sign out button next to your name.

3. Click "Sign out" to confirm.
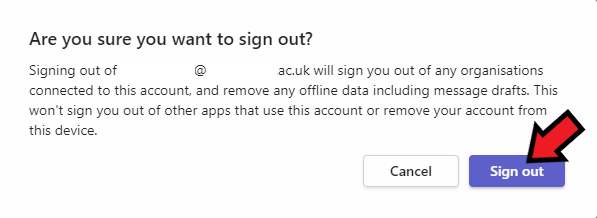
TEAMS:
1. Right-click on the Teams icon in the notification area of your taskbar. Click "Sign out".
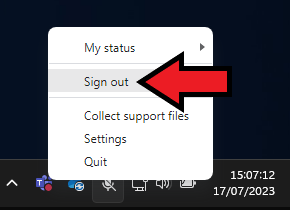
2. Click "Sign out" to confirm.
CREATIVE CLOUD:
1. Launch the Adobe Creative Cloud app via Start > Programs > Adobe Creative Cloud.
2. Open the profile menu, which is usually depicted by a blue circle in the app's top-right corner.
3. Click "Sign out". If a confirmation dialog box appears, click "Sign out" again.
MacBook users must also sign out of their Apple ID if it is linked to their NUA email address. Other services described below include:
- Apple ID
- OneDrive
- Microsoft Office
- Teams
- Creative Cloud
- Microsoft Account
APPLE ID:
1. Choose Apple menu > System Settings.
2. Click your name.
3. Click "Sign Out".
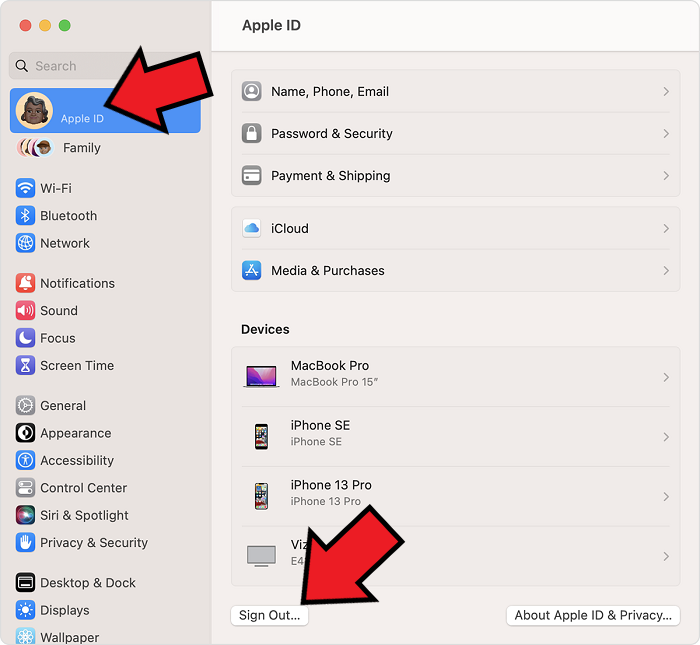
4. Keep a copy of your iCloud data on your Mac before you sign out by clicking the appropriate tickboxes (Keep a Copy / Keep on This Mac).
ONEDRIVE:
1. In the top menu bar, click the OneDrive icon and then select Preferences from the drop-down.

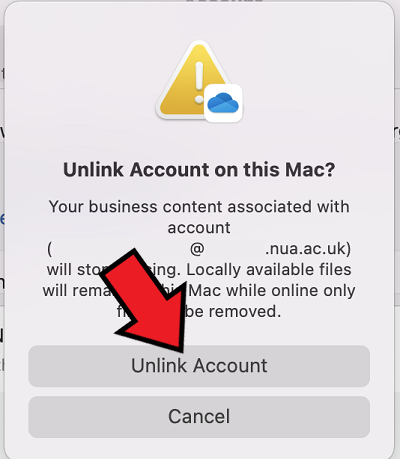
2. Under the Account tab, click "Unlink this Mac".
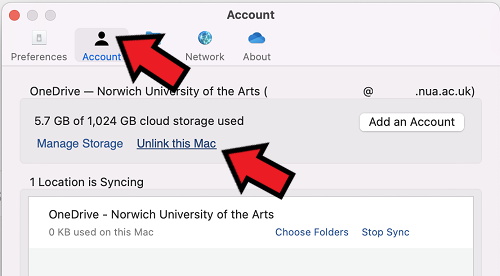
3. Click "Unlink Account" to confirm.
OFFICE:
1. Launch Excel or Word (you only need to sign out of one Office app to trigger the sign-out for all).
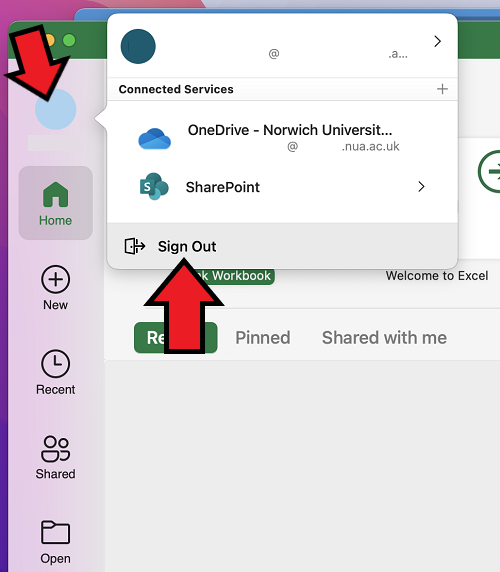
2. In the dashboard, click on the circle containing your profile picture or initials. Then, click "Sign out".
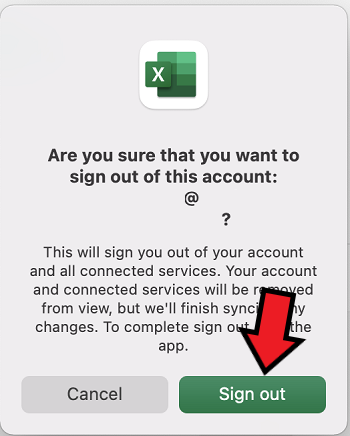
3. Click "Sign out" to confirm.
TEAMS:
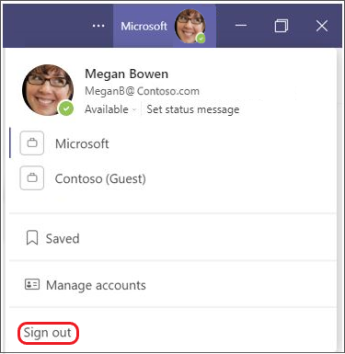
1. Launch Teams and select your profile picture at the top of the app.
2. Click "Sign out".
CREATIVE CLOUD:
1. Launch the Adobe Creative Cloud app via Go > Applications > Adobe Creative Cloud.
2. Open the profile menu, which is usually depicted by a blue circle in the app's top-right corner.
3. Click "Sign out". If a confirmation dialog box appears, click "Sign out" again.
MICROSOFT ACCOUNT:
1. Go to https://myaccount.microsoft.com.
2. If prompted, sign in with your existing @nua.ac.uk / @student.nua.ac.uk email address.
3. Click "Sign out everywhere" in the Overview section, as shown in the screenshot below.
You must sign out of any mobile apps that authenticate with your University account. This may include iOS and Android apps such as: Microsoft 365, Outlook, Teams, Adobe, Edge, OneNote, Planner, Word, Excel, PowerPoint, To Do and OneDrive. You should also sign out of the Smarthub app, if you use it. Some Microsoft apps may use the terminology "Delete Account" rather than "Sign Out". Don't worry, as this only signs you out of the app - it doesn't delete your account.
2. Email & Outlook
Before the transition of your account, Outlook for Windows users must remove their profile. If you couldn't remove your Outlook profile before the transition, you can still complete this step after the transition. It must be completed before you can use Outlook with your new email address.
1. Open the Start menu, and type "Control Panel" in the search box. Open Control Panel.
2. Find the "Mail (Microsoft Outlook) icon and click on it. To find this, you may need to filter the view by "Small icons" using the drop-down in the top-right corner.

3. You will be presented with a Mail Setup pop-up box. Please select "Show Profiles" shown in the screenshot below:

4. Now, highlight any profiles in the list and click the "Remove" button.
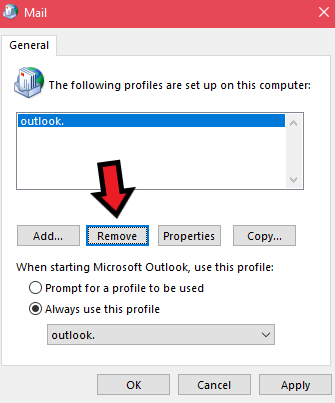
5. Once no more profiles are in the list, select "Apply" and "OK" to close the window.
View these steps in action:
This section will explain how to remove your NUA account from Outlook for Mac so that you can re-create an account with your new email address later.
1. Open Outlook for Mac.
2. In the top menu bar, go to Tools > Accounts.
3. On the left-hand side of the window, select the account you want to sign out of.
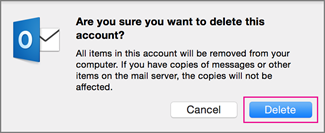
4. In the lower left of the Accounts dialogue box, click the [-] button.
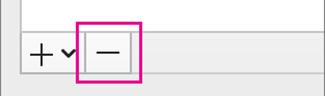
5. When prompted, confirm the deletion of the account.
Outlook on iOS:
1. Start the Outlook app on your iPhone.
2. Click on your profile picture (or the home icon) in the top-left corner.
3. Click on the Settings cog in the bottom left corner.
4. Select your @nua.ac.uk / @student.nua.ac.uk Office 365 account in the "Email Accounts" section.
5. Scroll down and click the "Delete Account" button. This signs you out of the Outlook app (don't worry - your account isn't deleted!)
Mail / Calendar on iOS:
1. Go to Settings > Mail > Accounts.
2. Select your @nua.ac.uk / @student.nua.ac.uk account.
3. Scroll down and click the "Delete Account" button. This signs you out any iOS apps such as Mail, Calendar, Contacts, Reminders and Notes (don't worry - your account isn't deleted!)
3. Library Services
Save your bookshelves in Library Discovery prior to your email transition day. This only applies to students and staff who save resources directly on the Discovery website.
Before transitioning to norwichuni.ac.uk domain, you will need to retrieve any saved information in your Library folder. If you do not retrieve it, there will be no way to return it after the transition.
Step one: Go to https://library.nua.ac.uk/ and click the magnifying glass on the yellow bar.

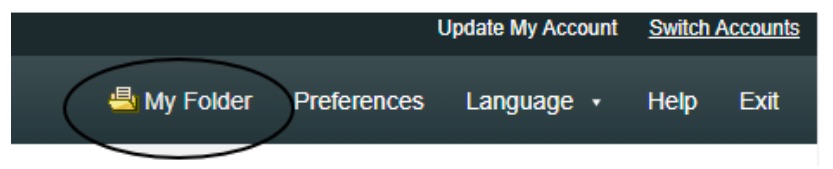
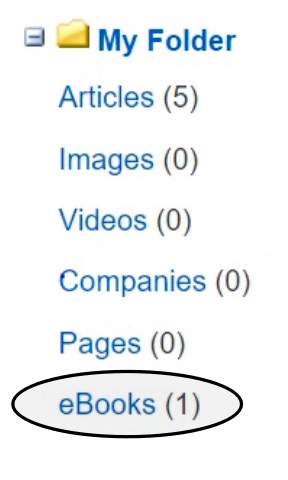
Step two: Click My Folder in the top right-hand corner
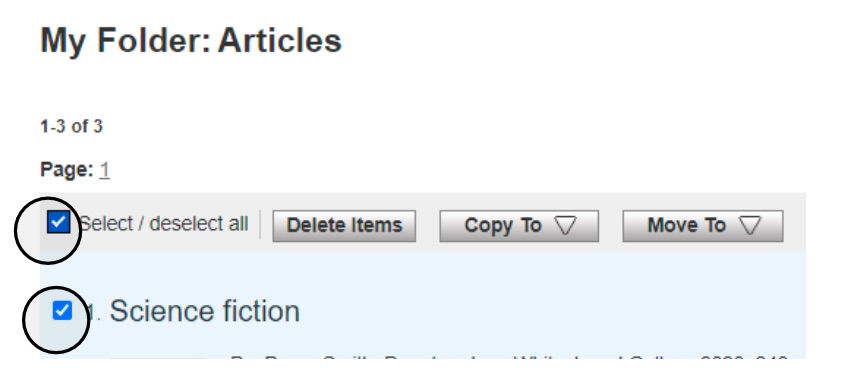
Step three: If you would like to download all saved items in your folder, click select all on the top bar. If you would only like to download some items, click the items you would like to download individually using the tick box to the left of the title.
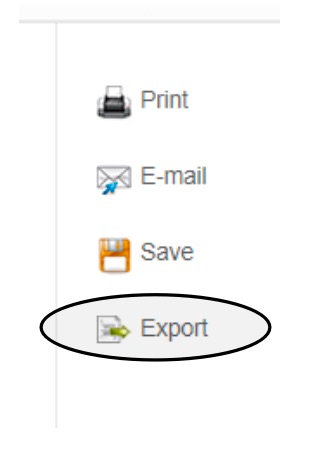
Step four: From the right-hand side menu, select Export
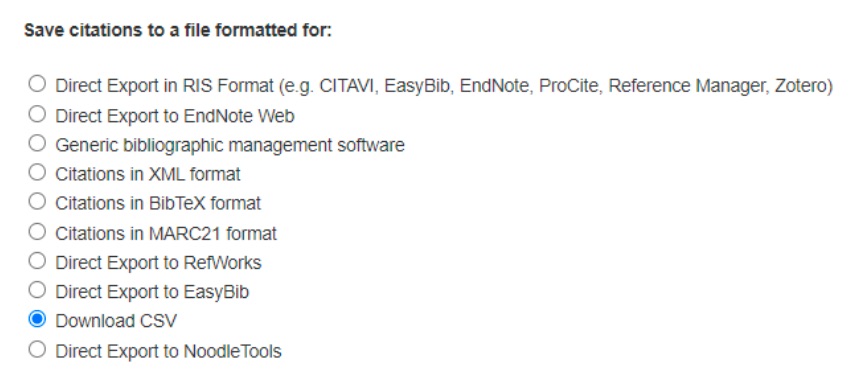
Step five: We recommend selecting Download to CSV; however, you can choose to download to a different location from the list.
Step six: Press Save on the left-hand side of the page. This will trigger your file to download.

Step seven: The file will open in Excel. The folder will provide you with all the item information, most importantly the Plink (or Permalink) that will allow you direct access to the item record on the catalogue. Give the file the same name as you had named your bookshelf and save it in a location of your choice.
Step eight: If you have any eBooks saved to your folder, you will need to download these separately. Select eBooks from the left-hand menu and repeat steps three to seven.
If you have created bookshelves on eBook Central, you will need to export these before the domain transition. If you do not export them, there will be no way to retrieve them.
Step one: On eBook Central, click Bookshelf on the top right-hand bar. You will be prompted to log in if you are not signed in.

Step two: For each of your bookshelves, click the export file button.

Step three: This will trigger a download to an Excel file. In this file, you will find all book details, including the direct URLs to each book. Rename the file and save it to a useful location.
Repeat steps two and three for each of your bookshelves.
When your transition has been completed, you will be able to rebuild your bookshelves by opening each link and creating a new bookshelf.
4. Connectivity
After your account is moved to norwichuni.ac.uk, you'll need to reconnect personal devices to the eduroam WiFi network. For the smoothest experience, forget the eduroam network on these devices before the transition.
Android:
1. Go to Settings > Wireless & networks > Wi-Fi. On some devices, this may be under Network and Internet > Internet.
2. Tap and hold the listed eduroam network.
3. Click 'Forget network' and confirm.
iPhone:
To forget the network that you're currently using:
1. Go to Settings > Wi-Fi.
2. Tap the info button next to the network you're using.
3. Tap 'Forget This Network', then tap Forget to confirm.
To forget a network that you've joined before but aren't currently using:
1. Go to Settings > Wi-Fi.
2. Tap the Edit button in the top corner of the screen to see the networks known to your device.
3. Tap the delete button next to eduroam, then tap Delete.
macOS (Ventura or later):
To forget the network that you're currently using:
1. Go to Apple Menu > System Settings.
2. Click Wi-Fi in the sidebar.
3. Click Details next to the network you're using.
4. Click Forget This Network, then click Remove to confirm.
To forget a network that you've joined before but aren't currently using:
1. Choose Apple Menu > System Settings.
2. Click Wi-Fi in the sidebar.
3. Scroll down on the right and click Advanced to see the networks known to your Mac.
4. Click the more button (...) next to the network, choose Remove From List, then click Remove to confirm.
Earlier versions of macOS:
1. Choose Apple Menu > System Preferences.
2. Click Network.
3. Click Wi-Fi in the sidebar.
4. Click Advanced to see the networks known to your Mac.
5. Select the network, then click the remove (-) button beneath the list. Click Remove to confirm.
6. Click OK, then click Apply.
Windows:
1. Go to Start Menu > Settings > Network & Internet > Wi-Fi > Manage Known Networks.
2. Select the eduroam network and choose Forget.